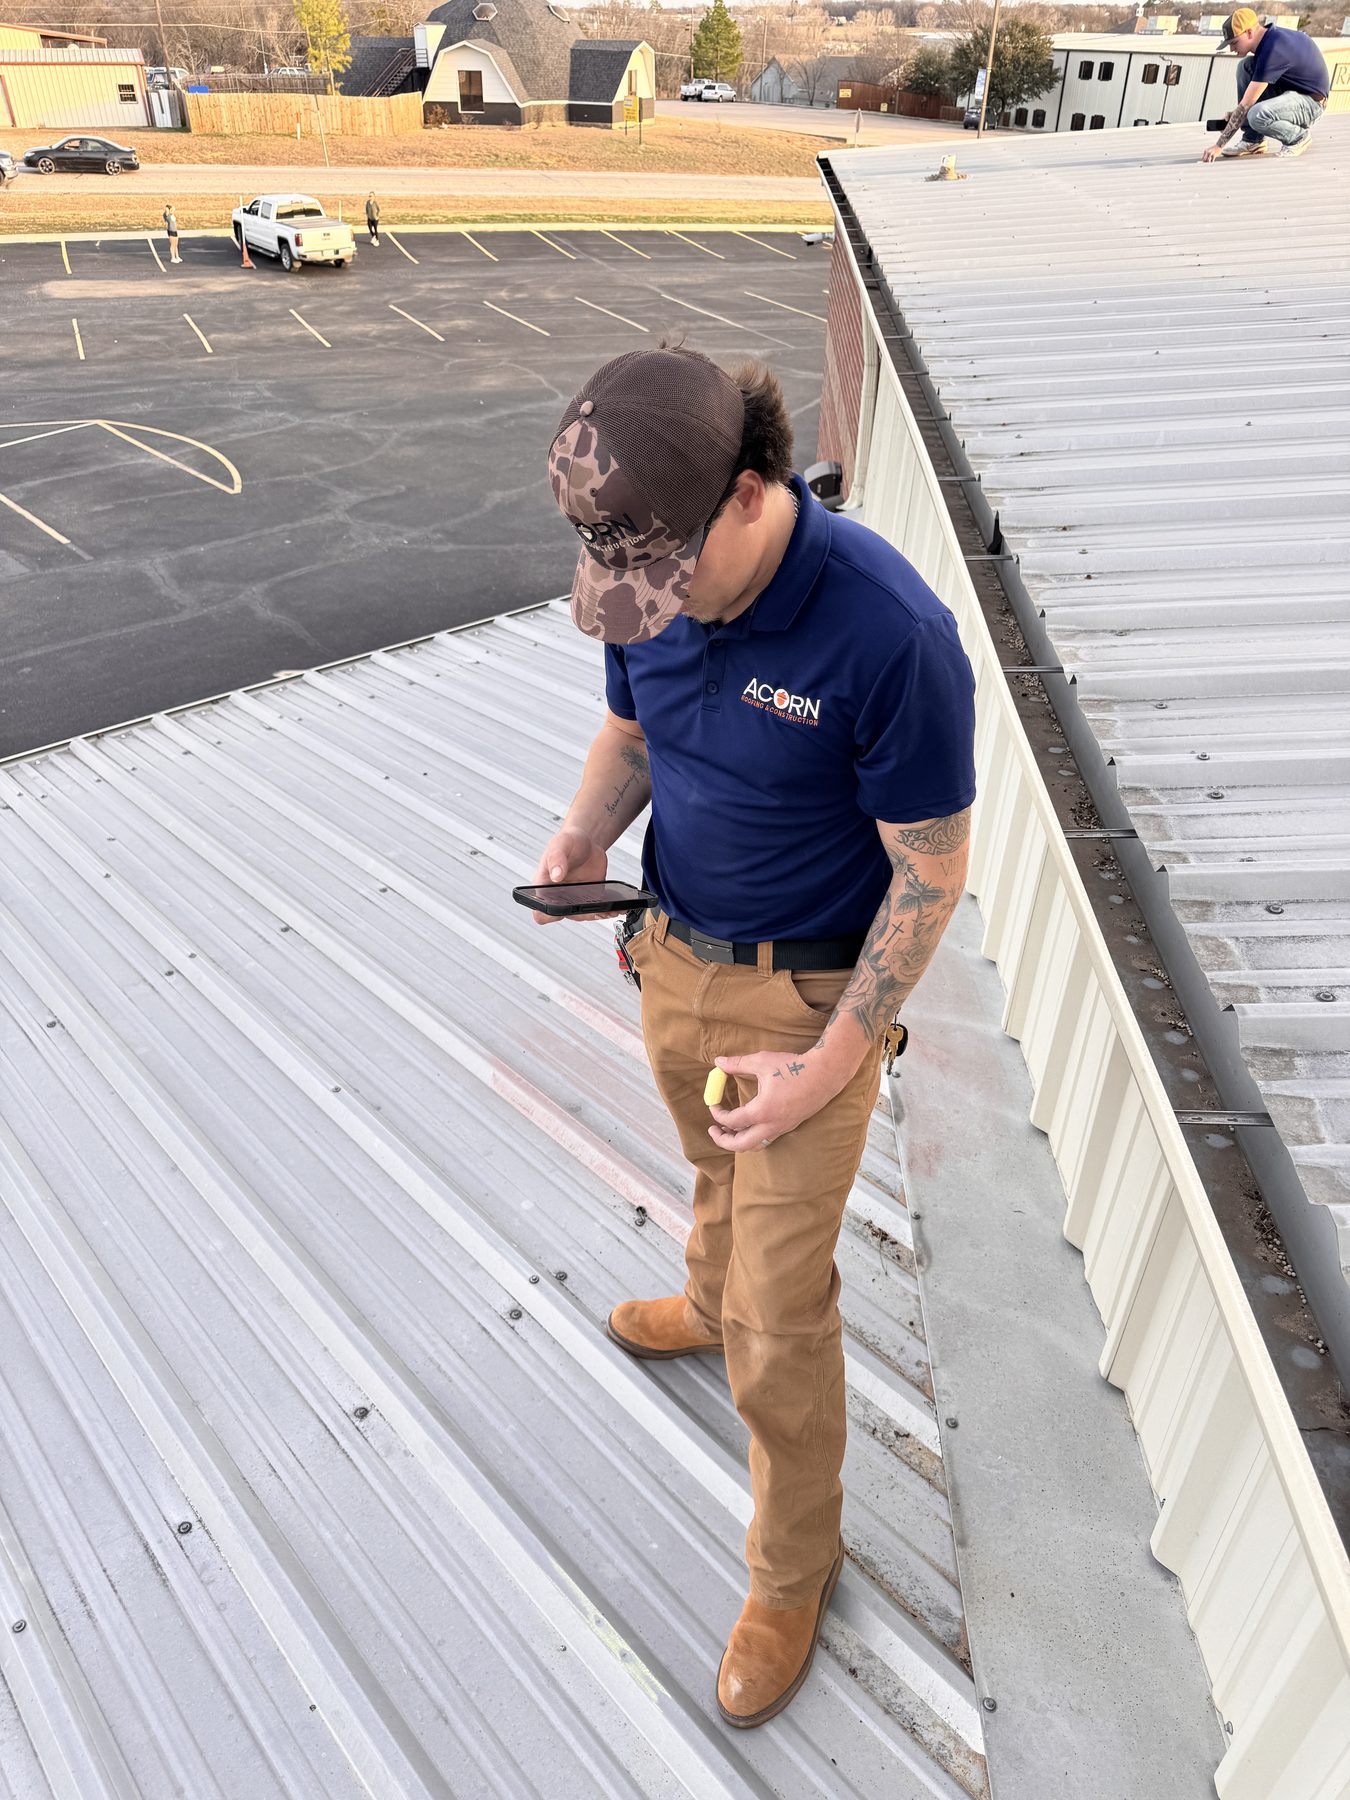

A bad line of storms comes through Plano, and by the next morning there is a truck in your street offering to fix your roof today. Some of those crews are fine. Some of them will be in another state by the time the work fails. The way to tell the difference is to slow the first day down and do things in order.
Step 1: Make The House Safe
Stay off the roof. Wet decking after hail is unpredictable and the ladder is where people get hurt, not the storm. If a ceiling is bulging with trapped water, move what is under it and put a container down. If there is a downed line anywhere near the property, treat the whole area as live and call the utility.
Step 2: Look From The Ground
You can learn a lot without leaving the lawn. Walk the perimeter and photograph:
- Shingle debris or granules washed into flower beds and at downspout outlets
- Dents in gutters, downspouts, fascia wrap and the air conditioner fins
- Torn window screens, split fence boards, damaged mailbox or garage door
- Any shingle visibly lifted, creased or missing, using a zoom rather than a ladder
Soft metal at ground level dates the event and shows the stone size. Adjusters look for exactly this, and you can gather it in ten minutes.
Step 3: Check Inside
Go into the attic with a torch during daylight. Sunlight through the decking is a hole. Damp insulation, dark streaks down the rafters or a musty smell all mean water is getting in even if the ceiling below still looks clean. Photograph what you find and note where in the house you are standing.
Step 4: Mitigate, But Do Not Repair
Your policy requires you to prevent further damage, and reasonable mitigation is reimbursable. Tarping an open section, clearing a blocked drain, moving furniture: all fine, keep the receipts. What you should not do is start permanent work before the claim is inspected. Once the damaged material is gone, so is the evidence.
Step 5: File, With The Date Of Loss
Call the insurer with the date the storm hit, the damage you have photographed and the mitigation you have already carried out. Ask for the claim number and the adjuster's contact. Then read the wind and hail deductible on your declarations page so you know what you are working with before the estimate arrives.
Step 6: Get An Independent Inspection
Have a local roofer inspect and photograph the roof before the adjuster arrives, and ask them to be there for the adjuster's visit. What you want is a report that separates storm damage from wear, with images and a count per test square. That is the difference between a conversation about opinions and a conversation about evidence.
Step 7: Permanent Repair Or Replacement
Scattered impacts on one slope of a young roof are usually a repair. Bruising across every elevation, mat exposure, or a roof already near the end of its service life is a replacement, and a partial repair on that roof is money spent twice. Ask for both scopes in writing so the choice is yours to make.
Two Things Not To Do
- Do not sign at the door. Nothing about a storm claim is so urgent that it cannot wait for a second opinion. Read anything that mentions assigning your claim benefits.
- Do not take a deductible waiver. Absorbing your deductible is fraud under Texas law and it puts your claim and your policy at risk, not just the contractor's licence.
How Long Does This Take?
On a typical Plano claim, expect the adjuster within a week or two of filing, and longer after a large regional event when every carrier in the metro is loaded. The roof itself is usually one day of work, occasionally two on a steep or complex roof. The waiting is nearly all administrative, which is another reason the documentation you gathered on day one matters so much.
Storm Just Came Through?
We will get on the roof, photograph everything, and tell you plainly whether it is a repair, a replacement, or nothing worth filing over.
Call (214) 437-7353 Plano storm damage repairSources: CPSC, Ladder Safety · Texas Department of Insurance, Storm Claims